Preparing Year-end Contribution Statements in QuickBooks
You've cleaned up the old pledges or tithes that we discussed last week and now it is time for year-end contribution statements. I know I promised to talk about independent contractors this week, but I've been getting a number of questions regarding the year-end contribution statements, so 1099s will wait until next time.
If you are using QuickBooks, you can design an annual contribution statement letter to print out for all donors and then attach the list of donations from the Sales by Customer Detail report. It isn't as smooth as using a designated donor database-type system, but it does save time from doing it manually.
To get started, go to the top menu and select Company, Prepare Letters with Envelopes, Customer Letters. The system will ask you to select the customers you would like to send the letter to. Mark Active, and then select Next.
You will be taken to a Letter Template screen. Choose Create or Edit a letter template and select Next.The system will ask you to choose what you want to do. Select View or Edit Existing Letter Templates.
The Customer type should already be selected. Scroll down the list at the left to select Nonprofit Thank You. If your version of QuickBooks does not include that option, select the Thanks for the business template. Select Next and a word document will open.
In the example above, I've changed the wording for a church and referenced a list of donations to be attached. The list comes from the Sales by Customer Detail report as discussed in Chapter 15 of QuickBooks for Churches & Other Religious Organizations. (Be sure to customize it for CASH). The other option is to run the Sales by Customer Summary and manually input the total amount in each donor's letter.
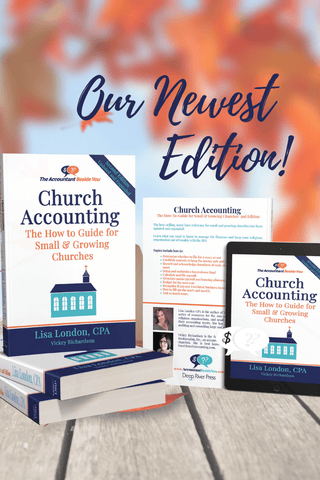
Please also note the line on the letter stating no goods or services were provided. This is a required IRS statement.The statutory requirements for acknowledgements are explained in detail in ChurchAccounting The How-To Guide for Small & Growing Churches.
Once you have the form letter formatted, go back to QuickBooks and select Use Template. It will once again ask you which customers (donors) you would like to send the letters to, then default to the template you just completed. You will then enter the name and title of the person signing the letters.
You may see a pop up box warning you that some information is missing. This may be as simple as not having selected the Mr. or Mrs. box on the customer file. Don't worry about this. It can be fixed on the individual letters or by revising the template.
The system will then bring up letters for each of the donors you selected. Review the letters and edit any of the individual letters in Word (i.e. add a personal note, fill in missing information, etc.) These revisions will not go back to the template.
If you would like to revise the template, go back to QuickBooks and select the Back button until you are at the Choose a Letter Template screen. Select Create or Edit and then revise as desired. Rerun the letters, edit the individuals, attach each donor's Sales by Customer Detail list, and you are ready to go.
Next week, we'll talk about independent contractors and 1099s. Until then,
Lisa London